How to season a camp oven
22nd May 2025 | 7 minutes to read
There’s something special about cooking a delicious meal on a campfire, chatting about the day’s adventures, or simply watching the bush telly while you wait for that meal to come out of your camp oven.
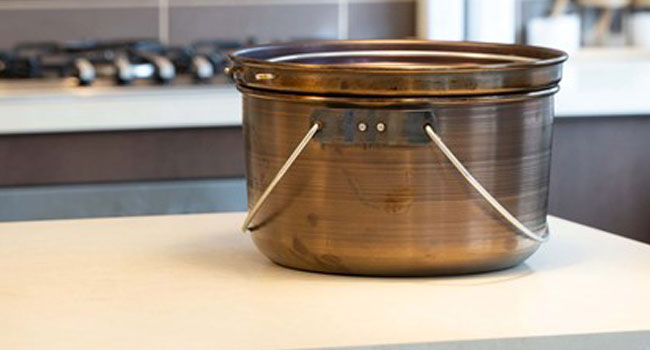
If you’ve just picked up a Spun Steel Camp Oven or a Cast Iron Camp Oven and are wondering what the first thing is you need to do, well that’s simple — it’s seasoning time. Here are five simple steps for seasoning a camp over. While it might seem difficult, it’s actually a simple process that will ensure you have many years of use and tons of happy camping memories.
We’ve compiled a list of some of the most useful accessories available for pressure washing so you won’t have any excuses for leaving the gutters full or the deck covered in moss:
What You’ll Need:
- Camp Oven
- Soap and a Sponge
- Paper Towel
- Rice Bran Oil
- Preheated Oven to 200°C, BBQ, or Campfire
Step 1: Unpacking and Washing
The very first thing you’ll want to do is unpack your new Spun Steel Camp Oven or Cast-Iron Camp Oven from its packaging. Fill up a sink with some warm soapy water and give your camp oven a good old scrub to remove any oil and contaminants from the manufacturing process.
Don't forget to give the lid a good wash and scrub as well!

Make sure to thoroughly dry the camp oven with a towel. You can even place it on a fire, BBQ, or in the kitchen oven to make sure it’s completely dry. Any water left over from washing will stop the oil from coating your camp oven.
Step 2: Oiling the Oven
Take your rice bran oil, or any other suitable oil like vegetable or flaxseed, and pour about a tablespoon’s worth into the bottom of the camp oven.
With some paper towel, rub the oil all over the camp oven and be sure to cover all surfaces of the camp oven – inside, outside, and on the bottom. Don’t forget the lid!

Step 3: Heating
Once the camp oven is evenly coated with oil, place the camp oven into a 200°C preheated oven, BBQ, or campfire to bake for roughly 15–20 minutes. If you're using the kitchen oven, be sure to have your range hood exhaust fan on as it will get smoky and stinky. Best not to upset your partner! If seasoning on a campfire, place the oven onto a nice bed of coals.

Step 4: Repeat
It's best to repeat the above 2 steps to get a nice non-stick coating on your camp oven. Sometimes it might take 2 or 3 goes to get it right.
Step 5: Get Cooking
Start cooking! Your freshly seasoned camp oven is now ready to cook on, so get out there and cook up a meal. The more you cook in your camp oven, the better the non-stick coating will get. If your seasoning starts to show some wear, simply give it a good scrub and repeat the same steps from the first time you seasoned it.

A Quick Tip
After you've finished cooking on your camp oven, give it a good clean with some soapy water, make sure it is thoroughly dry, and apply a small amount of oil to the cooking surface. This will keep it clean and rust-free for the next time you cook.


